


Nest Notes
Pre-Drywall Walkthrough: What to Look for Before the Walls Close Up

July 14, 2026
Once the drywall goes up, what’s behind it is hidden for the next 30 years. The pre-drywall walkthrough is your one chance to see it.
For buyers, this stage matters more than most people realize. Cabinets, flooring and paint get the attention later because they’re easy to see. But the parts that affect comfort, function and long-term satisfaction are already in place before drywall starts. This is when you can confirm where outlets land, how plumbing is laid out, where ducts run and whether the home matches the plan you signed off on.
At Garman Builders, we believe a better-built home starts with clarity. A pre-drywall walkthrough gives buyers a closer look at the work behind the walls and a chance to ask smart questions while adjustments are still more straightforward to make. If you’re preparing for one, here’s what to expect, what to bring and what to look for.
Key Takeaways
- A pre-drywall walkthrough happens after rough framing, plumbing, electrical and HVAC are in place, but before the walls are closed.
- This stage gives you the clearest view of how your home is actually being built.
- It matters because issues are easier to correct before drywall, trim and finishes are installed.
- Buyers should verify framing, plumbing locations, outlet and switch placement, duct runs, blocking and rough openings for windows and doors.
- Bring your floor plan, your selection notes, a phone for photos and a written checklist.
- Ask direct questions during the walkthrough so you understand what is complete, what is still in progress and what comes next.
- If you notice a concern, document it clearly and review it with your Project Manager right away.
What Is a Pre-Drywall Walkthrough?
A pre drywall walkthrough is a scheduled visit to your home during construction, after the major systems are roughed in and before drywall is installed.
At this point, you can usually see:
- Wall framing
- Floor and ceiling framing
- Plumbing lines and drains
- Electrical wiring and boxes
- HVAC ductwork
- Certain backing or blocking locations
- Window and door rough openings
- Insulation, depending on the timing
This walkthrough is sometimes called a framing walkthrough or pre drywall inspection. The exact timing can vary by builder and by schedule, but the goal stays the same: confirm that the structure and mechanical systems match the plan before they’re covered up.
For us, this stage reflects The Garman EDGE in a very practical way. Craftsmanship you can see, and performance you can feel, starts long before the finishes go in.
When It Happens in the Build Timeline
A pre drywall walkthrough usually happens after several major construction steps are complete:
- The foundation is finished
- The home is framed
- Windows and exterior doors are installed
- Plumbing rough-ins are completed
- Electrical rough-ins are completed
- HVAC rough-ins are completed
- The home is reviewed before insulation and drywall move forward
Depending on the build schedule, insulation may or may not already be installed when you walk the home. That’s why it helps to ask ahead of time what stage your house will be in on walkthrough day.
If you’re already familiar with the general home-building process, this visit fits squarely in the middle, after the home starts looking real but before the visual finishes take over.
Why the Pre-Drywall Walkthrough Matters More Than the Final Walk-Through
The final walk-through matters, of course. That’s when buyers review finishes, fixtures, appliances and overall completion. But from a problem-solving standpoint, the pre drywall walkthrough is often more important.
If an outlet is in the wrong spot now, moving it may still be manageable. If a plumbing line was placed incorrectly, that can be reviewed before walls are closed. If you want to confirm backing for a TV mount, a grab bar or built-in shelving, this is the time. Once drywall is up, even a small change can become more disruptive, more expensive or simply no longer practical.
A direct answer for buyers: the pre-drywall walkthrough matters more than the final walk-through because it gives you a chance to catch layout and system issues before they are concealed and harder to correct.
That doesn’t mean every requested change will be possible. It does mean this is the stage when visibility is highest and fixes are usually simplest.
Pre-Drywall Meeting Checklist: What to Look For
A good pre drywall meeting checklist keeps the walkthrough focused. You do not need to inspect the house like a code official or engineer. Your job is to verify that the home reflects your selections, your plan and the way you intend to live in it.
Framing Alignment and Stud Spacing
Start with the basic structure. You’re looking for a home that matches the layout you expected.
Check for:
- Room sizes and general layout flow
- Door openings in the expected locations
- Window openings where they should be
- Framed niches, soffits or tray details that were part of the plan
- Areas where walls, corners or openings look noticeably off from the floor plan
You may not be able to judge technical framing standards on sight, and that’s fine. Focus on whether the framing appears consistent with the plan.
This is also a good time to stand in key spaces, like the kitchen, family room and primary suite, and make sure the home feels the way you expected from the drawings.
Plumbing Rough-Ins: Fixture Locations, Water Lines and Drains
Plumbing is one of the easiest things to verify at this stage because the layout is visible.
Look at:
- Sink locations
- Toilet locations
- Shower and tub placement
- Hose bib locations, if accessible and part of your plan
- Laundry hookups
- Utility sink rough-ins, if selected
- Drain and supply line positions
Ask yourself a simple question in each room: does this match where the fixture is supposed to go?
In bathrooms and kitchens, even small placement issues matter. A rough-in that is a few inches off can affect cabinetry, vanities or appliance fit. If something looks odd, ask right away.
Electrical Placement: Outlets, Switches, Data Runs and Pre-Wires
This is one of the biggest sections in any new home inspection checklist because it directly affects daily life.
Verify:
- Outlet counts in each room
- Outlet locations for furniture layouts
- Switch placement at entries
- Kitchen island or peninsula electrical locations
- Bathroom outlet locations
- Exterior outlets
- Cable or data runs
- Smart-home pre-wires
- Ceiling fan or light fixture boxes
- TV outlet and low-voltage placement
This part deserves extra attention because buyers often discover too late that a switch landed behind a future bookcase, a TV wall has no convenient power or a home office is missing the wiring they expected.
Take your floor plan with you and compare each room carefully. If you made electrical upgrades during selections, bring that paperwork too.
HVAC Duct Runs and Equipment Placement
HVAC is not flashy, but it affects comfort every day.
During the framing walkthrough, review:
- Duct runs to major rooms
- Supply and return locations
- Bathroom exhaust locations
- Utility area layout
- Furnace or air handler placement
- Access space around equipment
This is also a good time to ask how the system design supports comfort and efficiency. At Garman, better-built, more efficient homes are a core part of what we do. When buyers understand what’s behind the walls, building science stops feeling abstract and starts making sense.
Blocking for Future Fixtures
Blocking is one of the smartest things to verify before drywall, because once the walls are closed, you lose the easy opportunity.
Ask about or look for blocking in places where you may want:
- TV wall mounts
- Grab bars
- Towel bars
- Heavy shelving
- Curtain rods in specialty locations
- Future accessories in laundry or mudroom spaces
Not every home includes backing in every possible location, so this is one of the best questions to raise with your Project Manager. If a future-use wall matters to you, now is the time to bring it up.
Window and Door Rough Openings
Window and door openings shape both the appearance and function of the home, so they’re worth checking in person.
Review:
- Window sizes and locations
- Door swing directions
- Interior doorway placement
- Patio or exterior access points
- Natural light in key living spaces
A floor plan can flatten these details. Standing in the framed home gives you a much clearer sense of whether openings are where they should be and whether any detail needs clarification.
Insulation Type and Coverage
Depending on the schedule, insulation may be visible during your pre-drywall inspection. If it is, this is a valuable part of the walkthrough.
Confirm:
- The insulation stage you are seeing
- Coverage areas
- Any obvious gaps or incomplete sections
- What happens next before drywall installation
This is also a good moment to ask buyer-friendly questions about energy performance. We build HERS-tested homes that are 37% more efficient than the average new home built today, and we use construction methods like continuous insulation to support comfort, durability and lower energy waste. A walkthrough is a good time to connect those benefits to the real house in front of you, not just a brochure.
What to Bring to a Pre Drywall Inspection

Bring a few simple items and the walkthrough will go much better.
Your checklist:
- A notebook
- Your phone for photos and video
- A printed floor plan
- Your change orders or pre-build selections
- A list of questions by room
- Comfortable shoes
Photos matter. Take wide shots of each room, then closer shots of walls with plumbing, wiring, blocking and ductwork. Later, those photos can help you remember where lines run behind finished walls. That’s useful for future mounting, decorating or minor upgrades.
A direct answer: the most helpful things to bring to a pre drywall walkthrough are your floor plan, your selections list, your phone for photos and a written checklist organized by room.
Questions to Ask Your Project Manager During the Walkthrough
This part of the meeting should be practical, not performative. You do not need to prove you know construction. You need to leave with clarity.
Good questions include:
- Does everything here match the final plan and approved selections?
- Are there any items still in progress that I should know about?
- Where will major fixtures land in this room?
- Are there any optional items or upgrades here I should verify today?
- Has blocking been added where we requested it?
- Are there any areas you want us to pay close attention to?
- What changes are still possible at this stage?
- What is no longer reasonable to change?
- What happens next after this walkthrough?
- When should we expect insulation and drywall?
A good Project Manager should be able to walk you through the house clearly and answer these questions without burying you in jargon.
What Happens If You Spot a Problem?
If you notice a problem during the pre-drywall walkthrough, bring it up on the spot and document it clearly.
Start with three steps:
- Point out the issue during the walkthrough
- Confirm whether it is actually an error, an unfinished item or a planned condition
- Ask how it should be documented and what the next step will be
Some concerns are straightforward. An outlet is missing. A shower valve looks misplaced. A niche was framed on the wrong wall. Those are the kinds of items this meeting is meant to catch.
Other requests fall into a different category. A buyer may decide they want an entirely different lighting layout, a larger window or a major wall move after seeing the framed home in person. At that point, the answer may be no, or it may require a formal change order, additional cost or schedule impact.
What’s reasonable at this stage:
- Correcting work that does not match the approved plan
- Clarifying incomplete items
- Confirming agreed-upon options or upgrades
- Addressing accessible issues before drywall
What may not be reasonable:
- Redesigning the floor plan
- Moving major plumbing after rough-in without consequence
- Making late changes that affect engineering, schedule or materials already ordered
The key is to stay direct and practical. If something looks wrong, say so. If something is simply a late preference change, expect a more limited set of options.
The Follow-Up: How to Document the Walkthrough and What Comes Next
After the walkthrough, organize your notes while the visit is still fresh.
Here’s the easiest way to do it:
- Label your photos by room
- Write down any items discussed
- Separate confirmed issues from open questions
- Save any follow-up emails in one folder
- Keep your floor plan and selections list together
If your builder uses a formal documentation process, follow that exactly. If not, send a concise summary of any agreed items so there’s a written record.
Then the build moves forward. In most cases, the next major steps are insulation, drywall installation and the start of interior finishing work. From there, the house changes fast. What looked like a framed shell starts to feel like a real home.
That’s why this visit matters so much. It’s your best chance to understand what’s inside the walls before the home shifts into finish mode.
A Better Walkthrough Leads to a Better Home
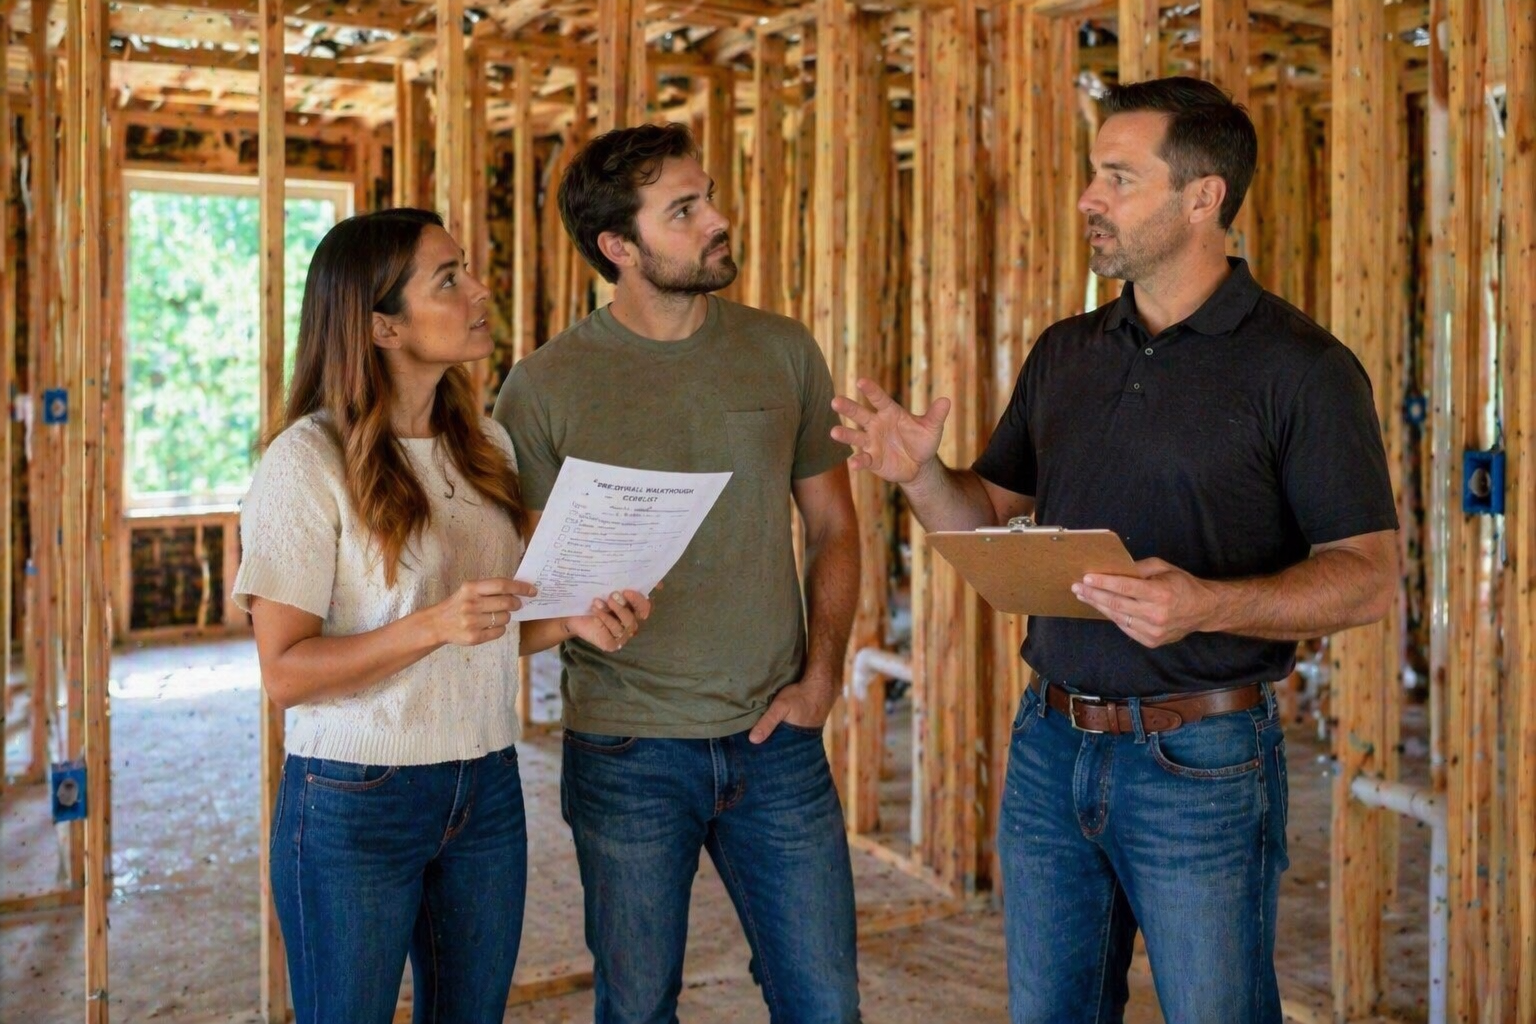
The pre-drywall walkthrough is one of the most useful meetings in the entire homebuilding process. It gives buyers visibility, confidence and a chance to verify the details that matter before they disappear behind finished walls.
For us, this is part of building homes that are Built for the Way You Live. A home should look good when it’s done, but it should also work the way it should, room by room, system by system. That kind of confidence starts before drywall ever goes up.
If you’re building with us and want to better understand the process, explore our homebuilding process, learn more about our energy efficiency approach or contact our team with questions about your upcoming walkthrough. We’re here to help you move forward with more clarity, more control and more confidence.
FAQs
What is a pre-drywall walkthrough?
A pre drywall walkthrough is a buyer meeting that happens after framing and major rough-ins are complete, but before drywall is installed. It gives you a chance to see plumbing, electrical, HVAC and framing details while they are still visible.
Is a pre-drywall walkthrough the same as a pre drywall inspection?
Not exactly. A pre-drywall walkthrough is usually a builder-led buyer meeting. A pre drywall inspection may refer to a third-party inspection performed at the same stage. Buyers sometimes use the terms interchangeably, but they are not always the same thing.
What should I look for in a pre-drywall inspection?
Look for layout accuracy, plumbing fixture locations, outlet and switch placement, HVAC duct runs, blocking, window and door openings and visible insulation if it has already been installed. Bring your floor plan so you can compare the house to your approved selections.
When does a pre drywall walkthrough happen?
It usually happens after framing, plumbing rough-ins, electrical rough-ins and HVAC rough-ins are complete, and before drywall begins. The exact timing depends on the build schedule.
Can I request changes during a framing walkthrough?
Yes, but the type of change matters. If you spot something that does not match the approved plan, it should be reviewed right away. If you want to make a new design decision late in the process, that may not be possible or may require added cost and schedule changes.
Should I take photos during my pre-drywall walkthrough?
Yes. Photos help you document the home’s systems before the walls are closed. They can also be useful later if you want to know where wiring, plumbing or blocking is located behind the drywall.
Do I still need a final walk-through if I had a pre-drywall walkthrough?
Yes. The pre drywall walkthrough and final walk-through serve different purposes. The pre-drywall walkthrough focuses on what is behind the walls. The final walk-through focuses on finishes, fixtures, function and overall completion.


 0
0